
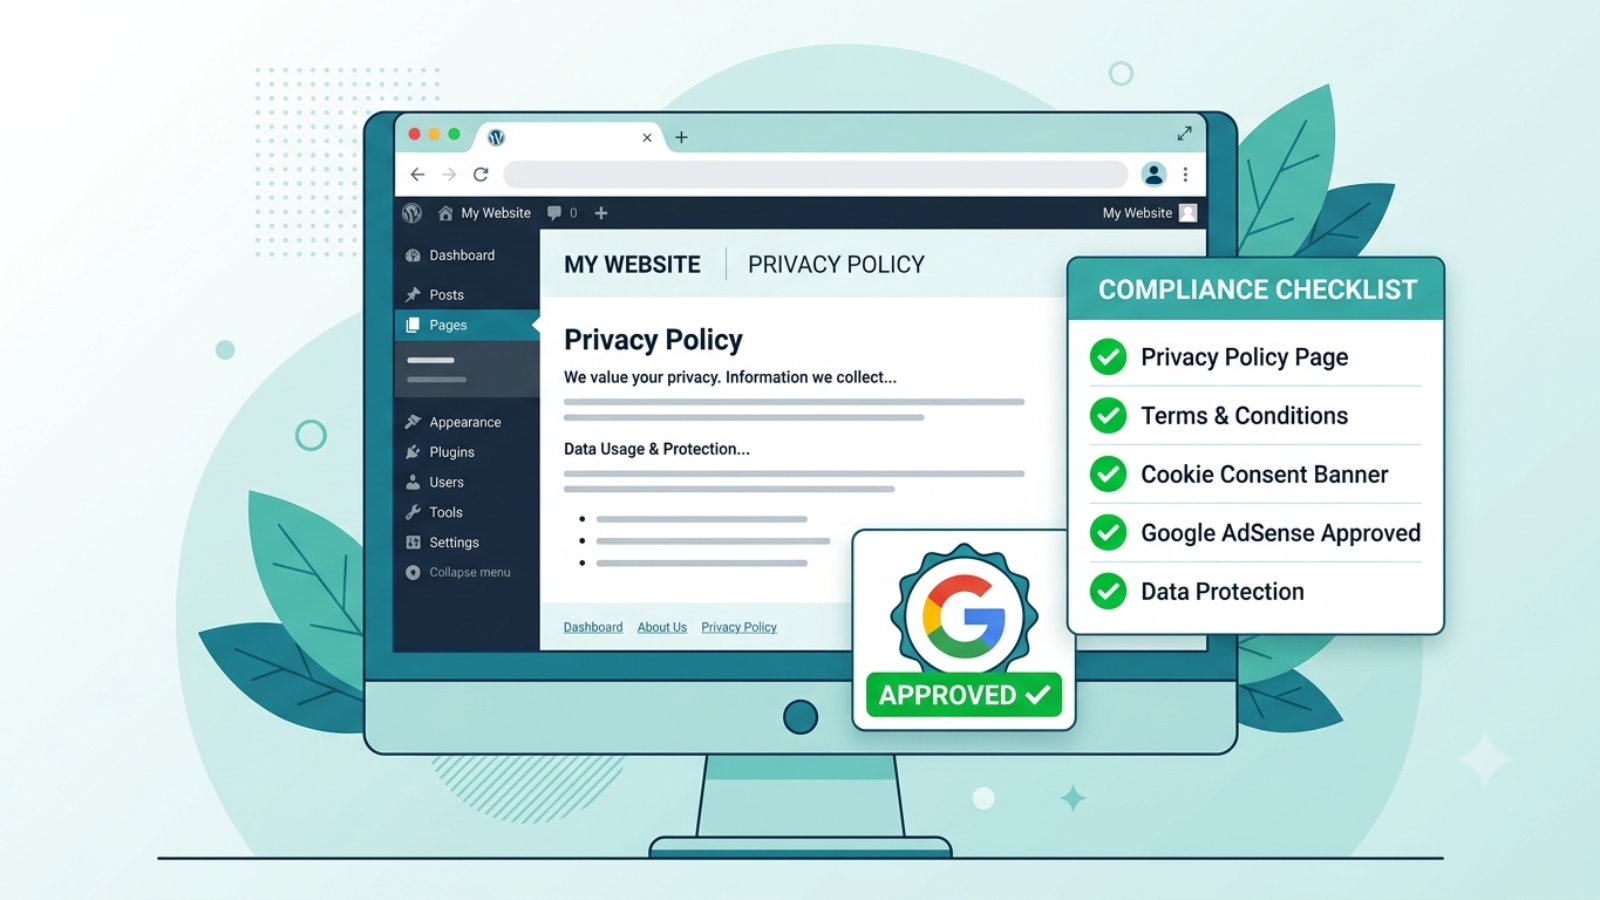
Privacy policy page for Google AdSense approval shown on a WordPress website

How to Create a Privacy Policy Page for Google AdSense Approval

A privacy policy page for Google AdSense is not optional — Google will reject your AdSense application without one. It is one of the first things their review team checks, and getting it wrong is one of the most common reasons new sites fail AdSense approval even when everything else looks fine.

This guide covers exactly what your privacy policy needs to say, how to create one for free, where to add it on your WordPress site, and what else Google checks alongside it during the AdSense review process.

If you’re preparing your WordPress site for AdSense and want to get approved on your first application rather than going back and forth with rejections — read this before you apply.

Why Google AdSense Requires a Privacy Policy

Google AdSense displays personalized ads based on visitor behavior and cookies. Privacy laws in the US (COPPA), EU (GDPR), and UK (UK GDPR) require any website displaying behavioral advertising to disclose this to visitors clearly.

Google enforces this requirement as a condition of AdSense participation. Your privacy policy must specifically disclose that third-party ad networks — including Google — use cookies and collect data to serve personalized ads.

A generic privacy policy template that doesn’t mention advertising cookies will not satisfy AdSense requirements even if it covers everything else correctly.

⚠️ Watch Out: Don’t copy someone else’s privacy policy from another website. Google’s review team checks for this. Copied policies also create legal liability — a policy written for someone else’s business may not accurately describe yours.

What Your Privacy Policy Must Include for AdSense

Google publishes its own requirements for publisher privacy policies. Your policy must cover all of these areas:

1. What Data You Collect

List every type of data your site collects from visitors:

  • Name and email (if you have contact forms or email signup)
  • IP addresses (collected automatically by your server)
  • Browser type and device information
  • Pages visited and time spent (via Google Analytics)
  • Cookies placed by your site and third-party services

2. How You Use That Data

Explain why you collect each type of data:

  • Contact form data — to respond to enquiries
  • Analytics data — to understand how visitors use the site
  • Advertising data — to display relevant ads through Google AdSense

3. Google AdSense and Advertising Cookies

This section is the most critical for AdSense approval. You must specifically state:

  • Your site uses Google AdSense to display advertisements
  • Google uses cookies to serve ads based on visitor behavior
  • Visitors can opt out of personalized ads via Google’s Ads Settings
  • Third-party vendors including Google use cookies to serve ads based on prior visits

Google provides exact required language for this disclosure in their AdSense program policies.

4. Google Analytics

If you use Google Analytics (which you should), disclose this separately:

  • Your site uses Google Analytics to collect anonymous usage data
  • This data helps you understand visitor behavior and improve the site
  • Visitors can opt out via the Google Analytics opt-out browser add-on

5. Cookies

Explain what cookies your site uses and why:

  • Essential cookies — required for the site to function (WooCommerce cart, login sessions)
  • Analytics cookies — Google Analytics tracking
  • Advertising cookies — Google AdSense personalized ads
  • Third-party cookies — any other services (Stripe, WPForms, etc.)

6. Third-Party Links

If your site links to other websites, state that you’re not responsible for the privacy practices of those external sites.

7. Children’s Privacy (COPPA)

State clearly that your site does not knowingly collect data from children under 13. This is required for AdSense regardless of your site’s topic.

8. How to Contact You

Include a contact method — email address or contact form link — so visitors can ask questions about your privacy practices.

9. Policy Last Updated Date

Add a “Last Updated: [date]” line at the top or bottom of the policy. Google wants to see that the policy is maintained and current.

✅ Pro Tip: After AdSense approval, update this date any time you add a new plugin, service, or data collection method to your site. A policy that says “Last Updated: 2023” on a site actively collecting data in 2026 is a red flag during any audit.

How to Create Your Privacy Policy for Free

You have three options — from fastest to most thorough:

Option 1 — Privacy Policy Generator (Fastest)

Use a free privacy policy generator that covers AdSense requirements specifically. The best free options:

  • Termly.io — generates a comprehensive policy covering GDPR, CCPA, and AdSense requirements. Free tier available.
  • PrivacyPolicies.com — clean generator with AdSense-specific options. Free for basic use.
  • GetTerms.io — simple and fast, covers the essentials.

When using any generator:

  • Select “Google AdSense” when asked about advertising services
  • Select “Google Analytics” when asked about analytics
  • Enter your website URL and contact email accurately
  • Download or copy the generated policy

Option 2 — WordPress Privacy Policy Tool (Built In)

WordPress has a built-in privacy policy generator at Dashboard → Settings → Privacy. It creates a draft policy page automatically with common sections pre-filled.

The limitation: the default WordPress policy doesn’t include AdSense-specific language. Use it as a starting point, then add the Google AdSense disclosure section manually from Option 1 above.

Option 3 — Write It Yourself

If you want full control and accuracy, write your policy manually based on the section headings above. This takes longer but produces a policy that accurately describes your specific site rather than a generic template.

For a WordPress developer site like syedaounraza.online, a self-written policy covering all eight sections above is both legally more accurate and more credible to Google’s reviewers than an obvious template.

✅ Pro Tip: Whatever method you use, read the full policy before publishing it. Make sure every service it mentions is actually on your site and every service on your site is actually mentioned. A policy that lists services you don’t use or omits services you do is worse than having no policy at all.

How to Add the Privacy Policy to WordPress

Once your policy is written, adding it to WordPress takes about two minutes.

Create the Page

  1. Go to WordPress Dashboard → Pages → Add New
  2. Title: Privacy Policy
  3. Paste your policy content into the editor
  4. Set the slug to /privacy-policy/
  5. Publish

Tell WordPress About It

WordPress has a specific setting for the privacy policy page:

  1. Go to Settings → Privacy
  2. Under “Change your Privacy Policy page,” select the page you just created
  3. Click Use This Page

This setting tells WordPress — and any privacy-related plugins — which page is your official privacy policy.

Add It to Your Footer Menu

Google’s review team looks for the privacy policy link in your footer. Add it there:

  1. Go to Appearance → Menus
  2. Select your Footer menu (create one if it doesn’t exist)
  3. Under Pages, find and add your Privacy Policy page
  4. Save Menu

Your footer should show: Privacy Policy · Contact · [any other legal pages]

⚠️ Watch Out: Don’t put your privacy policy only in the header navigation. Footer placement is the standard location Google expects and reviewers look for. You can add it to both, but the footer is non-negotiable.

Other Pages Google Checks During AdSense Review

Your privacy policy is the most important requirement but not the only one. During AdSense review, Google also checks:

About Page

Google wants to know who runs the site. Your About page should include your real name, what the site is about, and what kind of content visitors can expect. An anonymous site with no About page is a red flag.

Contact Page

A working contact method must be accessible. A contact form is fine — you don’t need to publish your email address publicly. Go to your contact page and submit a test message to confirm the form actually works before applying.

Content Quality

Google checks that your site has genuine, original content — not thin pages, copied text, or auto-generated content. Before applying, make sure you have at least 15–20 real, original blog posts published. Posts should be at least 800 words each and cover topics relevant to your site’s niche.

Site Age

Google generally prefers sites that have been live for at least 3–6 months before applying. A brand new site with 5 posts is very unlikely to be approved regardless of policy quality.

No Policy Violations

Your existing content must not violate AdSense policies — no adult content, no copyrighted material used without permission, no misleading claims, no content promoting illegal activity.

The AdSense Application Checklist

Before you submit your AdSense application, confirm every item on this list:

  • Privacy policy page published at /privacy-policy/
  • Privacy policy linked in footer menu
  • Privacy policy includes Google AdSense cookie disclosure
  • Privacy policy includes Google Analytics disclosure
  • About page published with real name and site description
  • Contact page with working contact form
  • Minimum 15 original blog posts published
  • All posts minimum 800 words each
  • Google Analytics installed and tracking
  • Site live for at least 3 months
  • No AdSense policy violations in existing content
  • Site loads on mobile without errors
  • No broken links on key pages

✅ Pro Tip: Install Google Site Kit on your WordPress site before applying. It connects Google Analytics, Search Console, and AdSense in one dashboard — and having Search Console data already flowing when you apply shows Google your site is actively indexed and receiving real traffic.

What to Do If Your AdSense Application Is Rejected

AdSense rejection emails are frustratingly vague — they rarely tell you exactly what’s wrong. Common rejection reasons and what they actually mean:

“Insufficient content”
You don’t have enough original posts, or your posts are too short. Add more content — aim for 20+ posts of 1000+ words before reapplying.

“Site does not comply with AdSense policies”
Something on your site violates a policy. Check for: copied content, broken pages, thin pages with less than 300 words, any adult or violent content, or misleading claims.

“Site is under construction”
Your site has pages that are blank, show placeholder content, or have coming soon notices. Remove all placeholder content before applying.

“Privacy policy issues”
Your privacy policy is missing, incomplete, or doesn’t include the required AdSense disclosure. Use the section headings above and confirm the AdSense cookie language is explicitly present.

After fixing the issue, wait at least 2 weeks before reapplying to give Google time to re-crawl your site.

Common Questions

Q: Does my privacy policy need to be written by a lawyer?
A: Not for AdSense approval — a comprehensive policy generated by a reputable tool covers Google’s requirements. For full legal compliance with GDPR or CCPA, professional legal review is advisable but separate from AdSense requirements.

Q: Can I use the same privacy policy on multiple sites?
A: No. Each site needs its own policy accurately describing that specific site’s data practices. A policy listing services you don’t use on that site creates both legal and AdSense compliance issues.

Q: How long does AdSense review take?
A: Typically 1–2 weeks for the initial review. If additional review is needed, it can take up to 4 weeks. You’ll receive an email either approving your account or listing issues to address.

Q: Do I need a cookie consent banner?
A: If your site has visitors from the EU, yes — GDPR requires explicit cookie consent before placing non-essential cookies. Install a free plugin like CookieYes which handles the consent banner and integrates with Google’s Consent Mode for AdSense.

Final Thoughts

Creating a privacy policy page for Google AdSense approval is a one-hour task that most people either skip entirely or do poorly with a three-line template. Neither approach gets you approved.

Use a proper generator like Termly, make sure the AdSense cookie disclosure is explicitly present, publish it at /privacy-policy/, link it in your footer, and check every other item on the application checklist before you submit.

The privacy policy is the easiest part of AdSense approval to get right — the harder part is having enough original, quality content published. Focus on both simultaneously rather than rushing an application before your site is genuinely ready.

If you need help setting up your WordPress site for AdSense — including privacy policy, Google Analytics, Search Console, and Site Kit configuration — Contact me and I’ll get everything in place correctly before you apply.
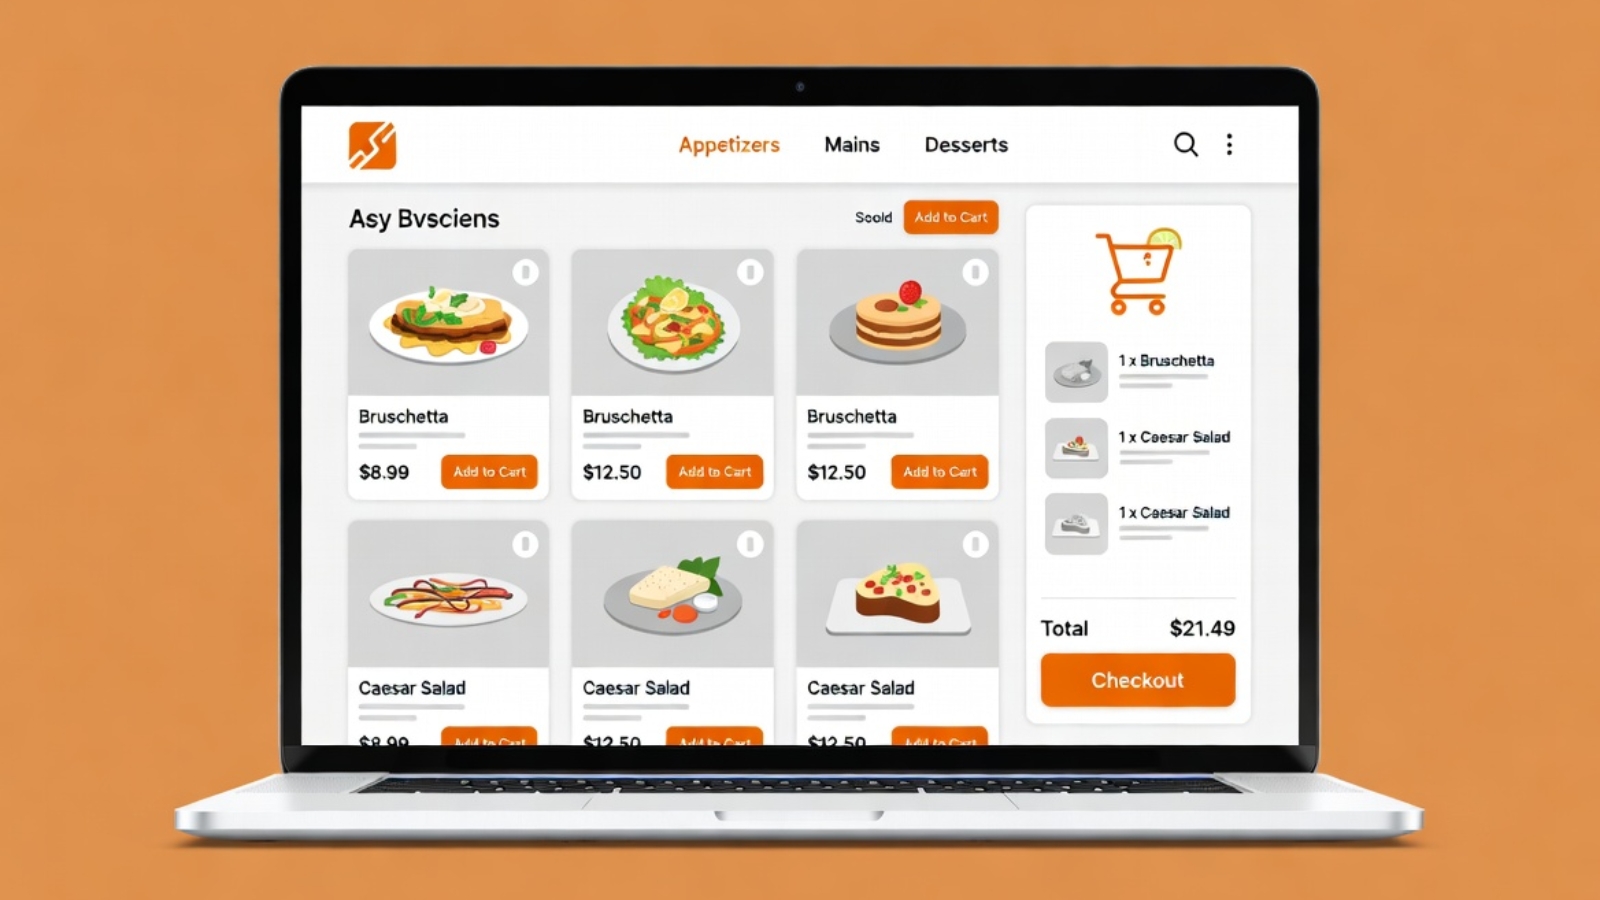
Best WordPress plugins for restaurant online ordering shown on a website

Best WordPress Plugins for Restaurant Online Ordering in 2026

The best WordPress plugins for restaurant online ordering let you take full control of your menu, delivery zones, and customer data — without paying ongoing commissions to third-party platforms like Gloria Food or Just Eat.

If you run a restaurant and you’re still relying on a third-party ordering platform, you’re giving away two things: money (platform fees on every order) and data (your customer order history lives on their server, not yours). Moving your online ordering to WordPress with WooCommerce puts both back in your hands.

This guide covers the best plugins for restaurant ordering on WordPress in 2026— what each one does, who it’s for, and how they compare. I’ve worked with several of these directly while building and migrating restaurant websites, so these recommendations come from real project experience.

Why Use WordPress for Restaurant Online Ordering

Before diving into plugins, it’s worth being clear on what you actually get by running ordering through WordPress instead of a dedicated platform.

You own everything. Your menu lives in your WordPress database. Your customer orders are yours. You can export them, analyze them, run promotions on them — without asking anyone’s permission.

You pay less over time. Gloria Food, Just Eat, and similar platforms charge per-order commissions or monthly fees that compound fast. With WordPress you pay hosting (typically $5–$15/month) and a one-time or annual plugin cost. That’s it.

You control the experience. Your ordering page looks like your website, not a generic platform template. Your brand stays consistent from homepage to checkout.

✅ Pro Tip: If you’re migrating from Gloria Food to WordPress, keep Gloria Food live during the transition. Run both systems in parallel until your WooCommerce ordering is fully tested — then switch DNS and retire the old platform. Never go dark between systems.

The Best WordPress Plugins for Restaurant Online Ordering

1. Orderable — Best Overall for Restaurants

Orderable is built specifically for restaurant ordering on WordPress and WooCommerce. It’s the plugin I recommend first to any restaurant client because it solves the problems standard WooCommerce doesn’t handle out of the box — delivery time slots, opening hours enforcement, and a checkout flow designed for food ordering rather than physical product shipping.

Key features:

  • Time slot selection for delivery and pickup
  • ASAP ordering toggle
  • Opening hours enforcement — no orders when you’re closed
  • Minimum order value for delivery
  • Product add-ons (extras, sauces, toppings)
  • Clean, mobile-friendly ordering layout

Pricing: Free tier available. Pro starts at $149/year.

Best for: Restaurants that need a complete, dedicated ordering experience without heavy custom development.

⚠️ Watch Out: Orderable’s free tier is functional but limited. If you need time slots and opening hours enforcement — which most restaurants do — you’ll need the Pro version. Factor this into your budget before starting the build.

2. WooCommerce — The Foundation Every Plugin Builds On

WooCommerce itself isn’t a restaurant plugin, but it’s the e-commerce layer that makes all of these solutions possible. It handles the product catalog (your menu), cart, checkout, and payment processing.

On its own, WooCommerce treats food items like physical products — which means you’ll need at least one additional plugin (like Orderable or one of the others below) to turn it into a proper food ordering system. But as the foundation, it’s free, incredibly well-supported, and powers millions of online stores worldwide.

Key features:

  • Product catalog with categories and variants
  • Cart and checkout
  • Payment gateway integrations (Stripe, PayPal, MobilePay, and 100+ more)
  • Order management dashboard
  • Customer email notifications

Pricing: Free. Extensions vary.

Best for: Every restaurant ordering setup on WordPress — this is the base layer, not optional.

3. WooCommerce Product Add-Ons — Best for Extras and Toppings

WooCommerce Product Add-Ons solves a specific but critical restaurant problem: how do customers add extras, toppings, or special instructions to an item during ordering?

Standard WooCommerce product variants work for size (small/medium/large), but they don’t handle optional extras cleanly. This plugin adds checkboxes, dropdowns, and text fields to any product — so a customer ordering a pizza can tick “extra cheese” and “extra jalapeños” and see the price update in real time.

Key features:

  • Checkboxes, radio buttons, dropdowns, and text fields on products
  • Per-extra pricing that updates the cart total live
  • “Special instructions” text field for custom requests
  • Works with variable products (size variants)

Pricing: $79/year (official WooCommerce extension).

Best for: Any restaurant with menu items that have add-ons, extras, or customization options.

4. Delivery Drivers for WooCommerce — Best for Managing Delivery

If your restaurant does its own delivery rather than using a third-party courier, Delivery Drivers for WooCommerce gives you a driver assignment and tracking system built into WordPress.

Restaurant owners can assign orders to specific drivers from the WooCommerce orders panel. Drivers get a mobile-friendly interface to accept and update orders. Customers can track their delivery status.

Key features:

  • Driver accounts with mobile-friendly order dashboard
  • Order assignment from WooCommerce admin
  • Customer delivery status notifications
  • Driver location tracking (Pro version)

Pricing: Free core plugin. Pro version available.

Best for: Restaurants running their own delivery fleet rather than outsourcing to a courier service.

5. WP Mail SMTP — Essential Supporting Plugin

This isn’t a restaurant-specific plugin, but it belongs on this list because without it your WooCommerce order confirmation emails will frequently land in spam — and customers who don’t receive confirmation emails cancel orders, call the restaurant, and leave bad reviews.

WP Mail SMTP replaces WordPress’s unreliable built-in mail with a proper SMTP connection through Gmail, Brevo, or another mail provider, making sure every order confirmation actually reaches the customer.

Pricing: Free tier handles most restaurant needs.

Best for: Every WordPress restaurant site — this should be installed before you take a single live order.

Comparing the Top Plugins

PluginPurposeFree TierPaid From
OrderableFull restaurant orderingYes (limited)$149/year
WooCommerceE-commerce foundationYesFree
Product Add-OnsExtras and toppingsNo$79/year
Delivery DriversDriver managementYesPaid Pro
WP Mail SMTPOrder email deliveryYesFree

Which Setup Is Right for Your Restaurant

If you want the simplest possible setup: WooCommerce free + Orderable free tier. Gets you a functional ordering page with basic delivery and pickup options. Good starting point before committing to paid plugins.

If you have extras and toppings: Add WooCommerce Product Add-Ons to the above. Most restaurants with any menu complexity need this.

If you run your own delivery drivers: Add Delivery Drivers for WooCommerce so you can manage and track your own fleet inside WordPress.

If you’re migrating from Gloria Food: Start with WooCommerce + Orderable Pro. The time slot and opening hours features in Orderable Pro directly replace what Gloria Food handled, making the transition feel seamless to customers.

What About Payment Gateways for Restaurants

Payment gateways are configured inside WooCommerce settings, not as separate ordering plugins. For most restaurants:

  • Stripe — best all-around card payment option, works globally
  • MobilePay — essential for Danish restaurants, large share of Danish customers pay this way
  • PayPal — useful if your customer base expects it, less common for restaurant ordering
  • Cash on Delivery — always enable this as a fallback for pickup orders

Each gateway installs as a WooCommerce extension. Stripe’s official WooCommerce plugin is free and available at wordpress.org/plugins/woocommerce-gateway-stripe.

Common Problems With Restaurant Ordering Plugins

Orders arriving at wrong times
Fix: Enable opening hours in Orderable so customers can’t order outside your working hours. Set your timezone correctly in WordPress Settings → General first.

Extras not showing at checkout
Fix: Make sure WooCommerce Product Add-Ons is active and the add-ons are assigned to the correct products. Check that the product type is set to Simple — add-ons sometimes don’t display on Variable products without additional configuration.

Order confirmation emails going to spam
Fix: Install WP Mail SMTP immediately and connect it to a Gmail account or Brevo free tier. Test by placing a real order and checking the inbox, not just the spam folder.

Delivery zone not restricting correctly
Fix: In WooCommerce → Settings → Shipping, set up Shipping Zones with specific postcodes or regions. Only customers within those zones see the delivery option at checkout.

Final Thoughts

The best WordPress plugins for restaurant online ordering in 2026 give you everything a third-party platform offers — ordering, payment, delivery management — without the ongoing commissions and without giving up ownership of your customer data.

Start with WooCommerce as your foundation, add Orderable for the restaurant-specific ordering flow, and layer in Product Add-Ons if your menu has extras. Install WP Mail SMTP before you go live — it’s a five-minute setup that prevents a lot of headaches.

If you need help setting up WordPress online ordering for your restaurant — including migrating from Gloria Food or configuring MobilePay for a Danish audience — Contact me and I’ll get it running correctly from day one.

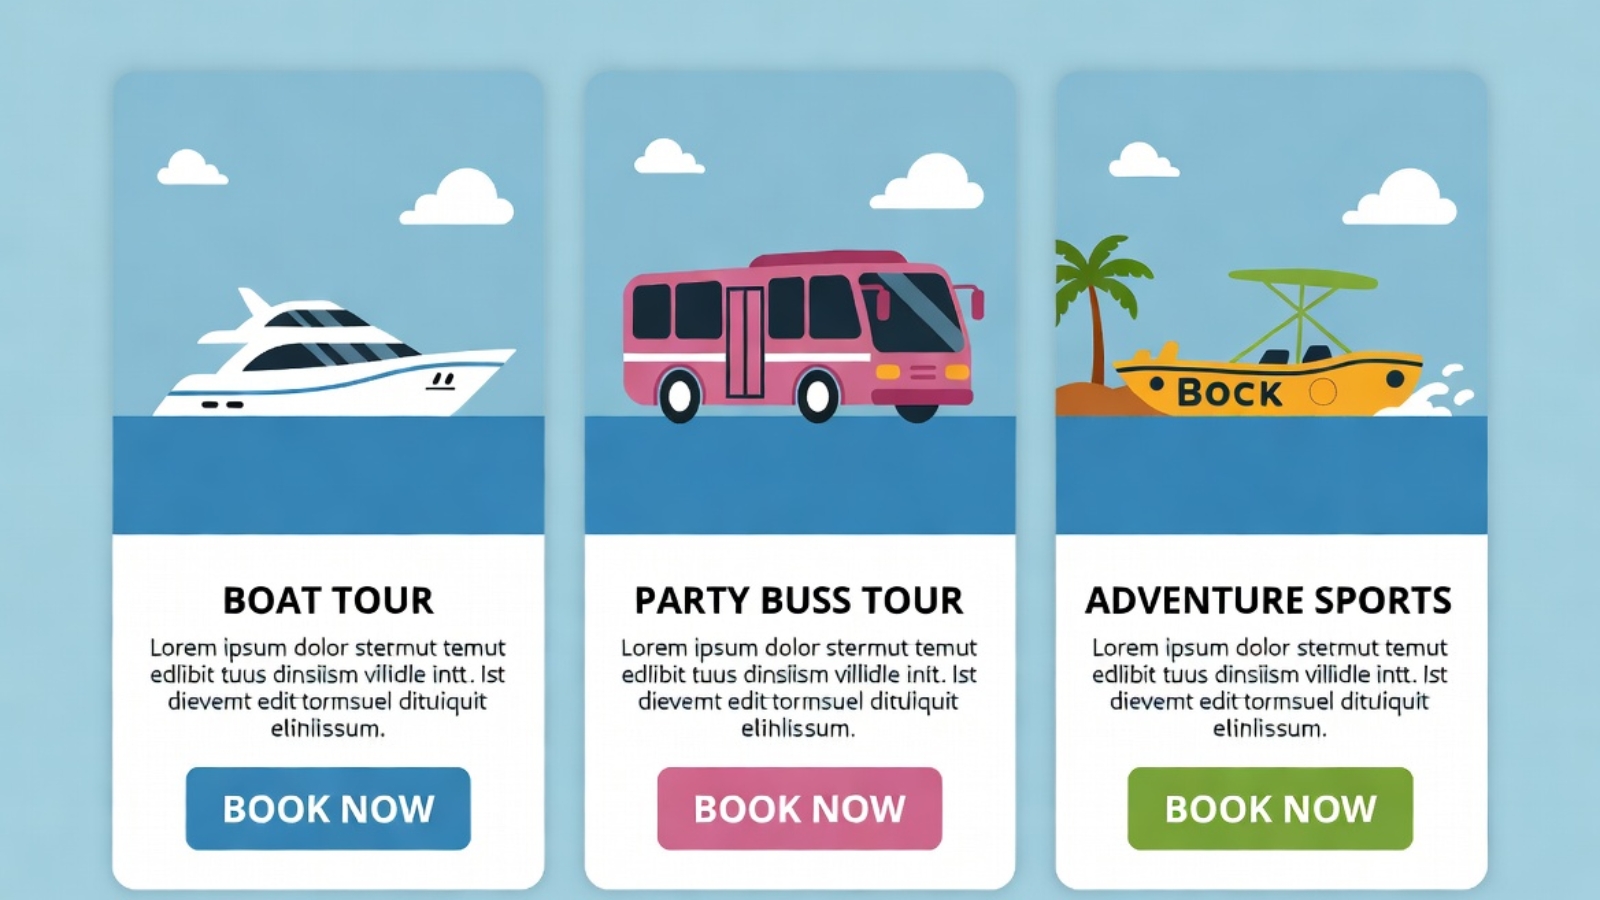
Multi-partner tourism booking website case study showing three tour brands on one site

How I Built a FareHarbor Booking Site for a Caribbean Tourism Company

A few months ago, a tourism operator in Aruba came to me with a problem that’s more common than people think: they were managing three separate tour brands, each with bookable inventory, and customers had no single place to discover and book all of it. Each brand had its own following, but there was no unified web presence tying them together.

This post walks through exactly how I approached the project — the technical decisions, the challenges that came up, and what I’d tell anyone facing a similar setup.

The Starting Point

The client operated under one umbrella business, working with three partner tour companies — each running their own activities, each with their own FareHarbor account for managing availability and payments. The goal was simple to state and harder to execute: build one WordPress website where a visitor could browse all three brands’ tours, check real-time availability, and book directly — without ever needing to leave the site or figure out which company to contact.

Before this project, customers were finding tours through scattered channels — direct partner websites, social media, word of mouth — with no consistent booking experience and no way for the operator to present everything as one cohesive offering.

✅ Pro Tip: If you’re in a similar position — managing multiple service providers or brands under one umbrella — don’t try to force everything into a single generic page. Customers need to understand which experience belongs to which brand, even while booking everything in one place.

Why FareHarbor

FareHarbor was already the booking system each partner used individually, which made it the obvious technical foundation rather than introducing a new platform and asking three separate businesses to migrate their existing booking workflows. FareHarbor’s Partner Network feature was the key piece that made a unified site possible — it allows one “operator” account to be granted booking permissions across multiple partner accounts, while each partner retains full control of their own inventory and payments on their end.

This meant the WordPress site didn’t need to store or manage any booking data itself. It just needed to display the right widgets, pointed at the right partner inventory, in the right places.

Planning the Site Structure

Before writing any code, the site needed a structure that made sense to a first-time visitor who had no idea three separate companies were involved. I settled on:

  • A homepage introducing the umbrella brand with a clear primary call-to-action
  • A single “Book a Tour” page as the main booking destination
  • Within that page, three distinct sections — one per partner brand — each with its own short introduction, photos, and a FareHarbor Flow widget scoped to that partner’s specific tours
  • Individual tour landing pages for the most popular activities, each with its own booking widget, for better SEO and easier sharing on social media

This structure meant a customer could land on the main booking page and immediately understand: here’s a boat tour company, here’s a party bus company, here’s an adventure sports company — pick what interests you.

The Technical Build

The site was built on WordPress using Elementor for the front-end design, which gave the flexibility to create custom layouts for each partner section without needing to write a custom theme from scratch.

FareHarbor integration approach:

Each partner section used a FareHarbor Flow widget, filtered to that specific partner’s item IDs using the operator shortname and a comma-separated list of item IDs in the embed URL. This was the cleanest way to keep inventory separated visually while still pulling everything through one connected account.

<a href="https://fareharbor.com/embeds/book/operatorshortname/items/12345,67890/?full-items=yes">
  Book [Partner Name] Tours
</a>

Design decisions that mattered:

  • Each partner section used a distinct accent color matching that brand’s existing identity, while keeping the overall page layout consistent — so it felt unified, not chaotic
  • Mobile-first build, since the overwhelming majority of tourists browse and book from their phones, often on hotel wifi or a tourist SIM with limited data
  • WhatsApp contact buttons placed throughout, because in this market a lot of customers want to ask a quick question before committing to a booking, and WhatsApp converts far better than a contact form for this audience

⚠️ Watch Out: When working with multiple FareHarbor partner accounts, every partner has to individually approve your operator account in their FareHarbor Partner settings before their inventory will show up in your widgets. This isn’t something you control from your side — it requires the partner logging into their own FareHarbor dashboard. Build this into your project timeline, because it’s a common bottleneck.

Challenges Along the Way

Coordinating partner approval timing

Since each of the three partners needed to separately approve the operator account inside their own FareHarbor dashboard, the project timeline depended partly on three different businesses responding promptly — not something a developer can speed up directly. The lesson here was building this dependency into the project plan from day one rather than assuming it would happen instantly.

Keeping brand identity intact within a unified site

The client was understandably protective of each partner’s individual brand identity — none of the three wanted to feel like they’d been absorbed into a generic “tours” page. Solving this meant treating each section almost like its own mini-landing-page within the larger site, with distinct photography, color accents, and copy tone, while still sharing the same booking mechanics underneath.

Page speed with multiple embedded widgets

Loading three separate Flow widgets on one page risked slowing things down if not handled carefully. The fix was loading the FareHarbor script tag once in the site header rather than once per widget instance, and lazy-loading each partner section’s widget so it only initialized as the visitor scrolled to that section.

The Result

The umbrella operator now has a single website where visitors can discover and book tours across all three partner brands, with live availability pulled directly from FareHarbor — no manual updates required on the WordPress side when a partner’s schedule changes. Each partner retains full control of their own pricing, availability, and payment processing through their existing FareHarbor account, while benefiting from a more polished, unified web presence than any of them had individually before.

For the operator, it meant turning three disconnected booking experiences into one coherent customer journey — without anyone needing to change how they actually run their day-to-day tour operations.

What I’d Tell Anyone in a Similar Situation

If you’re running multiple brands, partner businesses, or service providers under one umbrella and considering a similar setup, here’s what actually matters most:

  • Confirm partner buy-in and FareHarbor approval timelines before committing to a launch date
  • Design each section to preserve individual brand identity, not flatten everything into one generic look
  • Build mobile-first from day one if your audience is tourists booking on their phones
  • Load shared scripts once, not per widget, to protect page speed
  • Put WhatsApp or a similarly low-friction contact option front and center if your audience prefers chat over forms

If you’re managing something similar — multiple service providers, partner brands, or locations that all need to come together under one booking experience — Contact me and I can walk you through how this could work for your situation.