
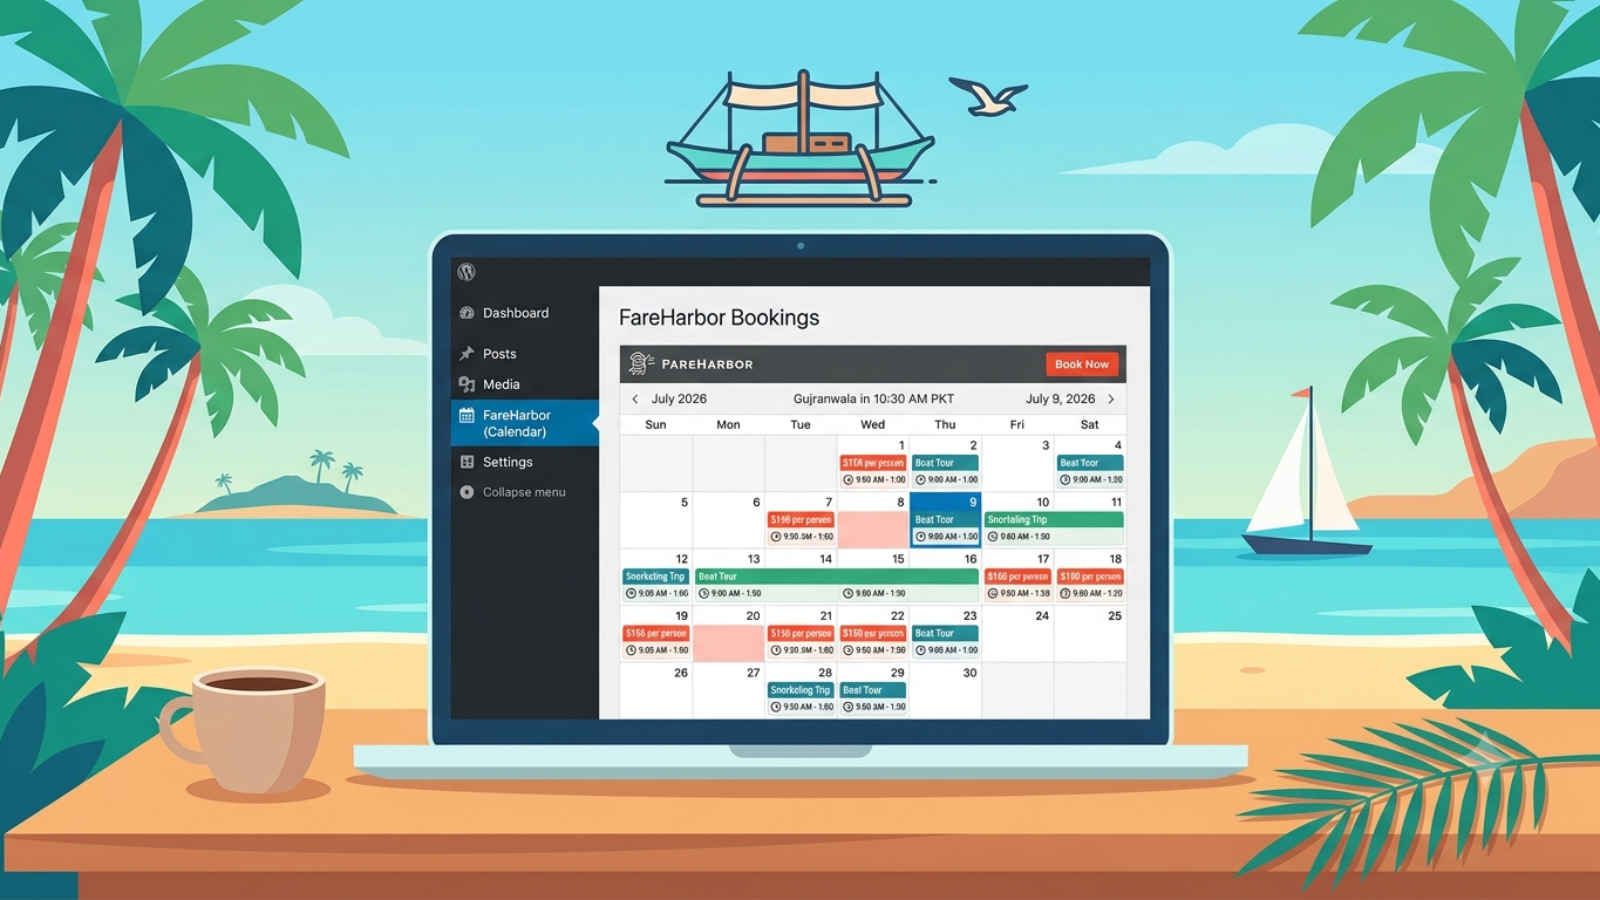
How to Add FareHarbor to WordPress (And Not Lose Your Commission Like I Did)
I almost cost my client real money on their first month of bookings. Not because the integration broke. Not because the plugin had a bug. Because I forgot to set the ASN.
If you don’t know what that means yet — you will by the end of this guide. And you won’t make the same mistake I did.
I’ve built FareHarbor WordPress sites for three tourism brands in Aruba: Pelican Adventures, De Palm Tours, and Kukoo Kunuku. Each one is a separate WordPress site, each targeting a different audience, each with its own booking flow. I’ve gone through the plugin setup, the shortcode configuration, the multi-brand partner pages, and yes — the moment where commissions weren’t tracking and I had to figure out why.
This guide is everything I learned doing it for real clients, not just reading the docs.
What Is FareHarbor and Why Tourism Sites Need It on WordPress
FareHarbor is the booking system that most serious tour and activity operators use. It handles availability, payments, customer communications, and operator commissions all in one place. If your client runs boat tours, island excursions, or any kind of ticketed experience — they’re probably already on FareHarbor or about to be.
WordPress is where most of these businesses want their public-facing site. So connecting the two is one of the most common requests I get from tourism clients.
The good news: FareHarbor has an official WordPress plugin. The bad news: the plugin documentation tells you the minimum, not the reality. There are decisions you need to make before you even install it — and if you skip them, you’ll spend hours debugging something that should have taken 20 minutes.
Let me walk you through the whole thing.
Step 1: Start With the Client’s Goal, Not the Plugin
Most developers jump straight to installing the FareHarbor plugin. I used to do this too. Now the first thing I do is ask the client one question: what are you actually trying to achieve with this integration?
That question changes everything.
Some clients want a simple “Book Now” button on their homepage. Others want a full availability calendar embedded on each tour page. Some are resellers who earn commission on other operators’ bookings — and that requires a completely different setup than a direct operator.
If you skip this conversation, you’ll build the wrong thing. I’ve seen developers embed a full calendar when the client just needed a lightframe button. I’ve seen reseller sites set up without affiliate tracking, meaning every booking they drove earned them nothing.
Know the goal first. Then choose your integration method.
Step 2: Install the FareHarbor WordPress Plugin
Once you know what you’re building, installation is straightforward.
Go to your WordPress dashboard, navigate to Plugins → Add New, and search for “FareHarbor.” Install and activate the official plugin by FareHarbor. As of 2026 it’s at version 3.6.13 with over 9,000 active installs, so it’s well maintained.
After activation, go to Settings → FareHarbor. You’ll see a settings page with a few options. The two that matter most:
Default Shortname — set this to your client’s FareHarbor shortname (more on this below). If you’re only building for one operator, set it here and you won’t need to type it in every shortcode.
Enable Auto Lightframing — check this box. Always. It means any link on the site that points to a FareHarbor booking URL will automatically open in the Lightframe overlay instead of taking the user away from your site. It’s a conversion improvement with zero downsides.
Enable FH Buttons Stylesheet — check this too if your client wants styled booking buttons. It loads FareHarbor’s button CSS so you can use their pre-built button styles.
What Is a Shortname and Why It Almost Broke My Project
Here’s the thing nobody explains clearly in the docs.
Every FareHarbor operator has a shortname. It’s the unique identifier for their account — the bit that appears in their FareHarbor dashboard URLs. For Pelican Adventures it was pelican-aruba. For De Palm Tours it was depalmtours. For Kukoo Kunuku it was kukookunuku-au.
You get this from the client or directly from their FareHarbor account. You cannot guess it. You cannot derive it from their business name. You need the exact string.
This is important because every shortcode you write uses it. Get it wrong and nothing loads. Get it right but forget the ASN — and you’ll lose commission tracking entirely.
I’ll explain the ASN issue in a moment. First, let me show you the shortcodes.
Step 3: The Four Shortcodes You Actually Need
The FareHarbor plugin gives you four shortcodes. Here’s when to use each one.
[fareharbor shortname=”companyname”] — This embeds a full availability calendar directly on the page. Use it on dedicated tour pages where you want visitors to see all available dates and book without leaving. It’s immersive but heavy — don’t put it on your homepage.
[itemgrid shortname=”companyname”] — This creates a grid of all activities or a specific flow. Use it on category pages where you want to show multiple tours at once. It looks clean, loads faster than the full calendar, and works well as a browsing interface before the customer picks a specific tour.
[lightframe shortname=”companyname”]Book Now[/lightframe] — This wraps any text or button to open the FareHarbor booking overlay on click. Use it for CTAs anywhere on the site — hero sections, tour description pages, sidebar widgets. This is the most flexible shortcode and the one you’ll use most.
[partners shortname=”companyname” include=”brand1,brand2″] — This is for reseller sites that want to show multiple operators’ inventory together. I didn’t use this for the Aruba project because each brand had its own separate WordPress site. But if you’re building a single site that aggregates multiple operators — a tourism hub, for example — this is what you need.
Step 4: The ASN — The Thing That Cost My Client Commission
This is the part I wish someone had told me before I launched.
If your client is a reseller — meaning they earn a commission when they drive bookings to another operator — FareHarbor tracks this through something called an ASN (Affiliate Short Name). Think of it as a tracking identifier that tells FareHarbor “this booking came through this reseller’s site.”
Without the ASN set correctly, FareHarbor has no way of attributing the booking to your client. The booking still happens. The customer still pays. But your client earns nothing from it.
For the Aruba project, the ASN for the account was toptiervacationrental. Every shortcode on every partner brand site needed to include this. And in my first build, I forgot to add it.
The first month went live. Bookings were happening. But when the client checked their FareHarbor dashboard, the commission column was empty.
It took me an hour of digging through the FareHarbor documentation to realize what was missing. The fix was a single parameter added to every shortcode. But the damage was real — a month of bookings with no commission tracked.
The correct shortcode format for a reseller looks like this:
[lightframe shortname=”pelican-aruba” asn=”toptiervacationrental”]Book Pelican Adventures[/lightframe]
[itemgrid shortname=”depalmtours” asn=”toptiervacationrental”]
That asn parameter is what creates the commission trail. Add it to every single shortcode on every page. Don’t leave it out on “just the homepage” or “just this one page.” Every shortcode needs it.
PRO TIP: Set the ASN as a default in the FareHarbor plugin settings page if your entire site is running under one reseller account. That way it applies automatically to every shortcode without typing it each time.
WATCH OUT: The ASN is case-sensitive. toptiervacationrental is not the same as TopTierVacationRental. Get the exact string from the FareHarbor account, copy it, paste it — don’t type it manually.
Step 5: Building Separate Pages Per Brand
For the three Aruba brands I mentioned — Pelican Adventures, De Palm Tours, and Kukoo Kunuku — we built separate WordPress sites rather than one multi-brand site. Each operator had their own domain, their own branding, and their own booking pages.
This approach has real advantages. Each site can be SEO-optimized for that specific brand’s search terms. There’s no confusion for the customer about whose tours they’re booking. And each site can have its own design that matches the brand’s identity.
The structure I use for these sites is simple and repeatable:
Homepage — hero section with a [lightframe] Book Now CTA, brief brand intro, featured tours using [itemgrid].
Individual tour pages — one page per tour, with description, photos, FAQs, and a full [fareharbor] calendar embed for that specific item ID.
Tours overview page — [itemgrid] showing all available tours, filterable by category if the operator has flows set up in FareHarbor.
This structure works. It converts. And it’s easy to hand off to the client to manage without them breaking anything.
Common Mistakes I See Other Developers Make
Beyond the ASN issue, here are the other things I’ve seen go wrong on FareHarbor WordPress builds.
Not enabling Auto Lightframing. When this is off, clicking a FareHarbor link takes the user completely away from the WordPress site to FareHarbor’s own booking page. You lose the branded experience and the customer feels like they’ve left the site. Always enable it.
Embedding the full calendar on the homepage. The [fareharbor] calendar shortcode is heavy. It loads a full iframe with date pickers and availability data. On a homepage it slows the page down and overwhelms visitors who are still deciding whether to book. Use [itemgrid] or a [lightframe] button on the homepage instead.
Not testing on mobile. FareHarbor’s Lightframe overlay works fine on desktop. On mobile, especially older Android browsers, there can be scroll issues inside the overlay. Always test the full booking flow on an actual phone before handing the site to the client.
Using the wrong item ID. When embedding a specific tour’s calendar using [fareharbor item=”12345″], you need the item ID from FareHarbor’s dashboard — not a guess. Pull it from the URL of the item in the operator’s FareHarbor account.
FAQ
How do I find my FareHarbor shortname?
Log into the FareHarbor dashboard and look at the URL — it usually contains the shortname. Or ask your FareHarbor account manager directly. Don’t guess it.
Can I use FareHarbor on WordPress without the plugin?
Yes — you can embed the Lightframe API script manually and use raw HTML links. But the plugin makes it cleaner, handles Auto Lightframing automatically, and is the approach FareHarbor officially supports. Use the plugin.
Does FareHarbor work with Elementor?
Yes. The shortcodes work inside Elementor’s Text Editor or Shortcode widgets. The [lightframe] shortcode wrapping an Elementor button needs a bit more work — you’ll need to add the shortcode around the button’s text content, not the button widget itself.
What if my client is not a reseller — do I still need the ASN?
No. The ASN is only relevant for reseller/affiliate setups where commission tracking is required. If your client is a direct operator taking their own bookings, skip the ASN entirely.
Can I show multiple operators on one WordPress site?
Yes — use the [partners] shortcode with the include parameter listing each operator’s shortname. This is the right approach for tourism hub sites or aggregators rather than building separate sites per brand.
How do I test if commission tracking is working?
Make a test booking through the site and check the FareHarbor dashboard for that booking. Look for the referral source — it should show your ASN. FareHarbor support can also verify this on their end if you’re unsure.
Final Thoughts
FareHarbor is a solid booking system and the WordPress plugin works well once you understand what it’s actually doing. The documentation covers the basics. What it doesn’t cover is the real-world decisions — the ASN, the per-brand site structure, the difference between embedding a calendar and using a lightframe button.
I learned most of what’s in this guide by building real sites for real clients in Aruba. Some of it came easy. Some of it — like the missing ASN — came with consequences.
If you’re a developer taking on a FareHarbor WordPress project, save this guide. And if you’re a tourism business trying to figure out whether you need a developer or can do this yourself — feel free to reach out. I’ve built these setups from scratch and know exactly what your site needs.
Get in touch at https://syedaounraza.online/contact/