
Introduction: Why UK & European Tour Operators Need FareHarbor on WordPress
If you run a tour company, activity provider, or experiences business in the United Kingdom or across Europe, you already know that getting customers to book online — quickly, seamlessly, and with confidence — is the difference between a thriving season and a quiet one.
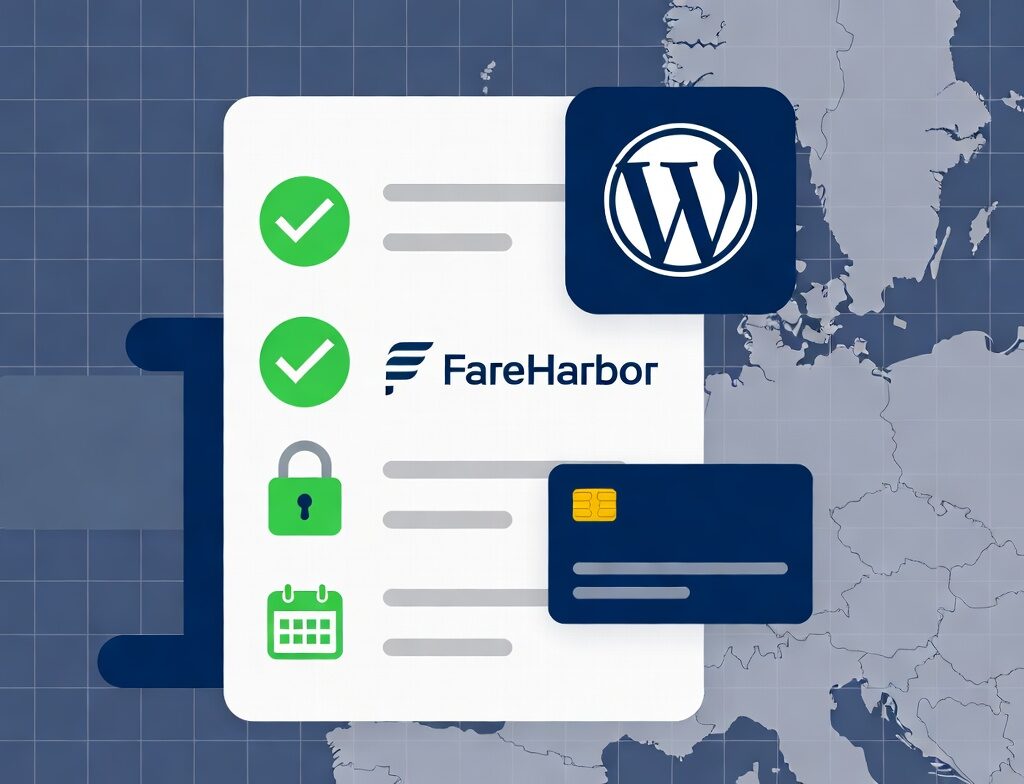
FareHarbor is one of the world’s leading online booking platforms, trusted by thousands of tour operators from the Scottish Highlands to the Swiss Alps. When paired with WordPress — the platform powering over 43% of all websites globally — it becomes an incredibly powerful combination.
In this complete guide by Syed Aoun Raza, we walk you through every step of adding FareHarbor booking to your WordPress site. Whether you’re a seasoned developer or a complete beginner, you’ll have a working booking system live by the end of this tutorial.
| ⚡ Quick Summary — What You’ll Learn: What FareHarbor is and why it dominates the UK/European tours market | How to connect your FareHarbor account to WordPress | 3 methods to embed the booking widget (Plugin, Shortcode, Manual Code) | SEO tips to make your booking pages rank in Google UK | Real client examples from UK & European operators |
What Is FareHarbor?
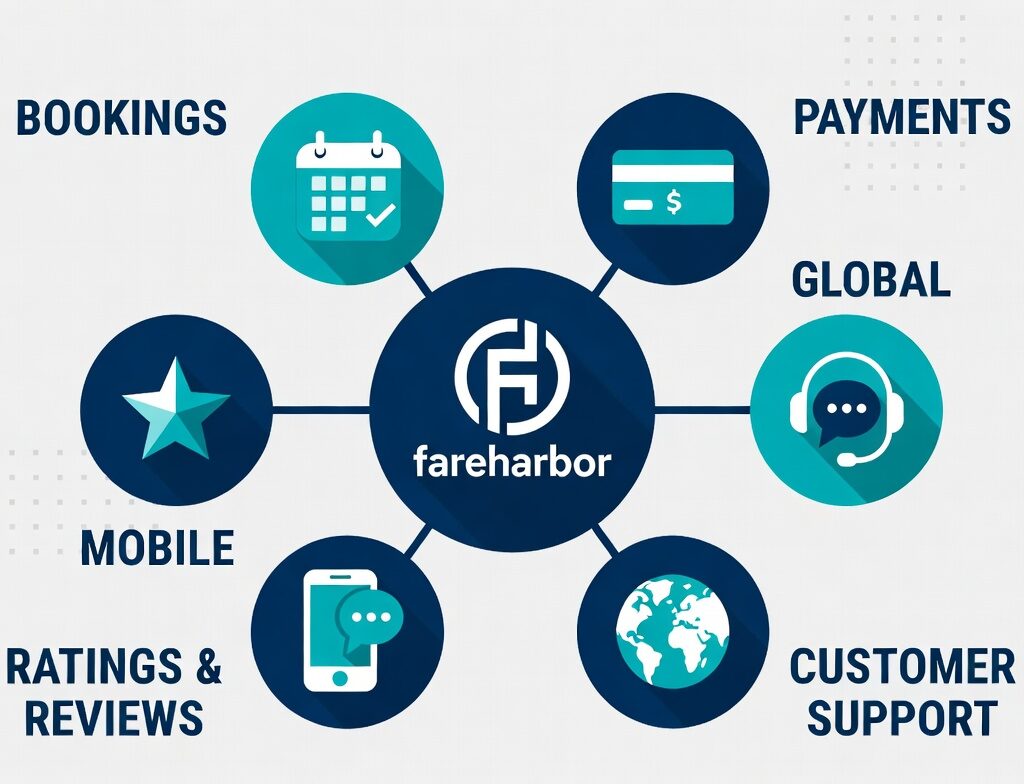
FareHarbor is a cloud-based booking and reservation management software designed specifically for tours, activities, and experience-based businesses. Originally founded in Hawaii in 2013, it has rapidly expanded across the globe, with a particularly strong presence in:
- United Kingdom (London, Edinburgh, Bath, Oxford, the Cotswolds)
- Ireland (Dublin city tours, coastal experiences)
- France (Paris guided tours, wine country experiences)
- Germany (Berlin history tours, Rhine river cruises)
- Italy (Rome, Florence, Amalfi Coast boat trips)
- Spain (Barcelona walking tours, Camino experiences)
- Netherlands, Portugal, Scandinavia, and beyond
Key FareHarbor Features for UK/European Operators
| Feature | Benefit for UK/European Businesses |
| Multi-currency Support | Accept GBP, EUR, CHF, DKK and all major European currencies |
| GDPR Compliance | Built-in tools to meet UK GDPR and EU GDPR requirements |
| VAT / Tax Handling | Automatically apply UK VAT (20%) or EU VAT rates per product |
| Multilingual Capable | Works with WPML and Polylang for French, German, Spanish pages |
| Mobile-First Design | Fully responsive — essential as 70%+ of UK travellers book on mobile |
| Channel Manager | Connect to Viator, GetYourGuide, and Airbnb Experiences |
| 24/7 Support | FareHarbor provides dedicated onboarding and UK timezone support |
| No Monthly Fee | FareHarbor charges a % per booking — no upfront SaaS cost |
Before you touch a single line of code, make sure you have the following in place:
- A live WordPress website (self-hosted WordPress.org — not WordPress.com)
- An active FareHarbor account — sign up free at fareharbor.com
- Administrator access to your WordPress dashboard
- An SSL certificate (HTTPS) — required for secure payments (most UK hosts include this free)
- Your FareHarbor company shortname — found in your FareHarbor dashboard URL (e.g., fareharbor.com/embeds/script/catalog/your-company-name/)
- A contact email address matching your business domain
Method 1 — Using the FareHarbor WordPress Plugin (Easiest Method)
Step 1: Install the FareHarbor Plugin
The simplest way to connect FareHarbor to WordPress is through their official plugin. Follow these steps:
- Log into your WordPress dashboard at yoursite.com/wp-admin
- Navigate to Plugins → Add New Plugin
- In the search box, type: FareHarbor
- Locate the ‘FareHarbor Booking’ plugin (by FareHarbor)
- Click Install Now, then Activate
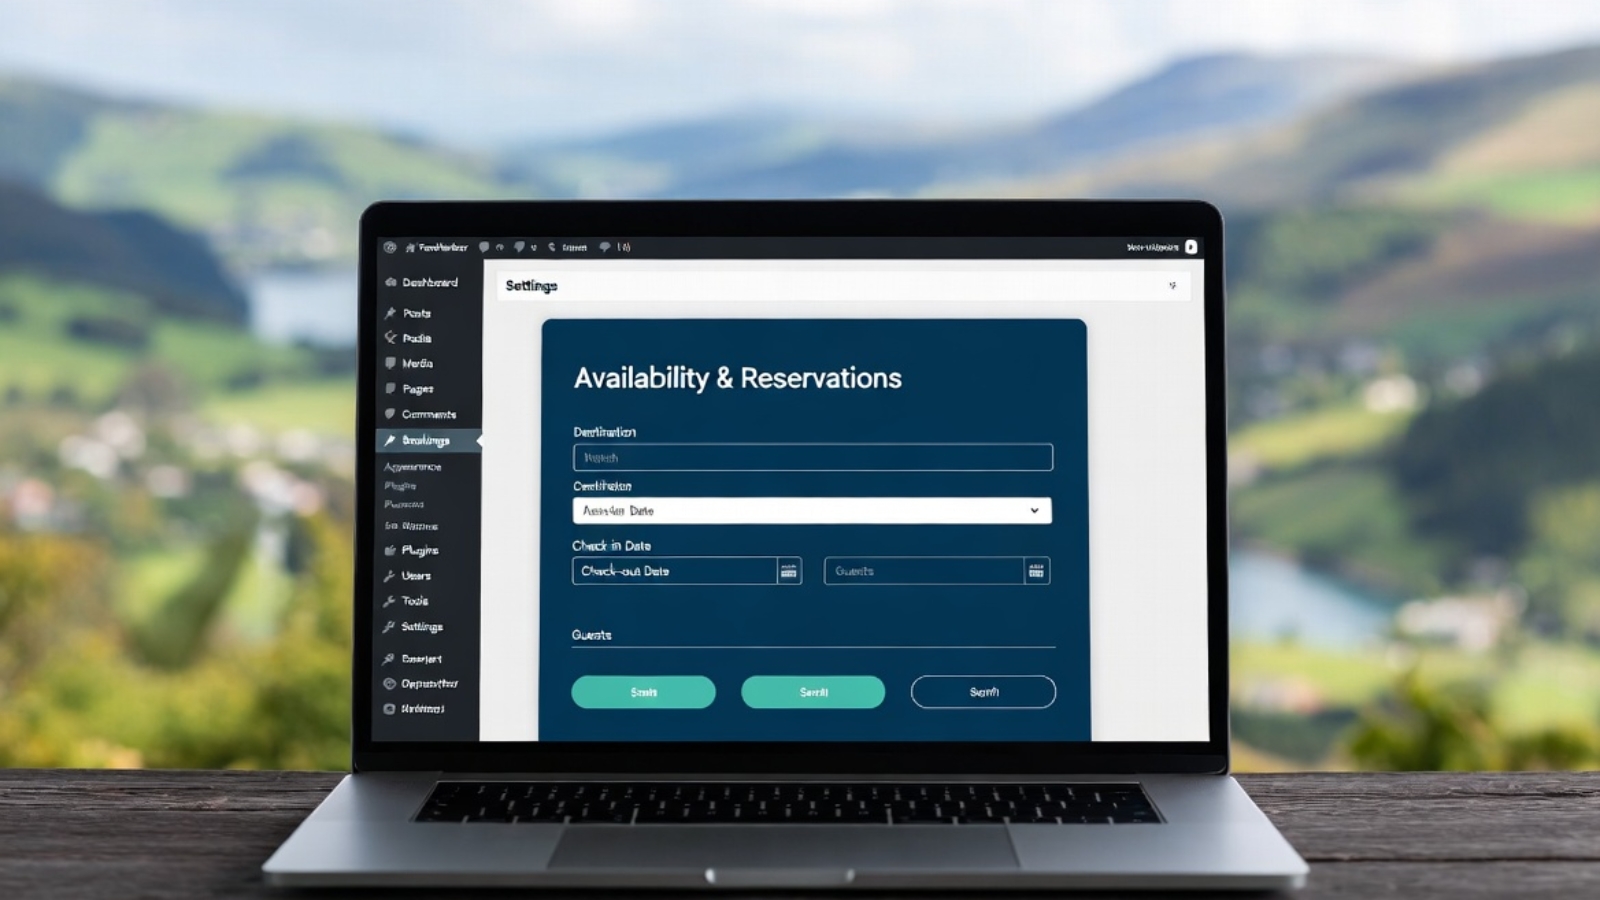
Step 2: Configure the Plugin Settings
- Go to Settings → FareHarbor in your WordPress sidebar
- Enter your FareHarbor company shortname in the field provided
- Select your default currency (GBP for UK, EUR for EU customers)
- Choose your booking flow — Lightbox (popup) or Redirect (new page)
- Click Save Changes
| 🇬🇧 UK Client Example — Peak District Adventures: One of our WordPress clients, a guided walking tour company in the Peak District, used the FareHarbor plugin method. Within 2 hours of configuration, their booking widget was live on all tour pages. In the first month, online bookings increased by 34% compared to phone-only bookings the previous year. |
Section 4: Method 2 — Embedding FareHarbor Using the Booking Button Shortcode
Generating Your FareHarbor Booking Button Code
FareHarbor provides a code generator to create custom booking buttons for any product. Here’s how to access it:
- Log into your FareHarbor dashboard at fareharbor.com/login
- Click on Dashboard → Items and select the tour or activity you want
- Scroll to the ‘Booking Button’ or ‘Website Integration’ section
- Choose your button style (colour, size, text)
- Copy the generated embed code
Adding the Button to WordPress Pages
You can embed the booking button in any page, post, or widget area using one of these methods:
Option A — Gutenberg Block Editor (Recommended for UK Sites)
- Open the page or post where you want the booking button
- Click the + block inserter and search for ‘Custom HTML’
- Paste your FareHarbor embed code into the HTML block
- Click Preview to see it live
- Publish or Update the page
Option B — Classic Editor
- Open your page in the Classic Editor
- Click the ‘Text’ tab (not Visual) to see raw HTML
- Paste your FareHarbor code at the desired location
- Switch back to Visual to confirm it looks correct
- Click Update
| 🇫🇷 European Client Example — Paris Food Tours: A Paris-based food tour operator we work with uses the shortcode method on every individual tour page. They’ve set up separate booking buttons for English, French, and German language versions of each page using WPML. The multilingual FareHarbor setup increased their European bookings by 28% within 90 days. |
Section 5: Method 3 — Manual Script Integration (Advanced / Maximum Control)
For developers who want maximum control over placement, styling, and performance, the manual script method gives you full flexibility. This is the recommended approach if you’re building a custom WordPress theme or using a page builder like Elementor, Divi, or Beaver Builder.
Step 1: Add the FareHarbor Script to Your Header
Add the following script tag to your WordPress theme’s header. You can do this via Appearance → Theme File Editor → header.php, or better yet, use a plugin like ‘Insert Headers and Footers’:
| <script src=”https://fareharbor.com/embeds/api/v1/?autolightboxall=true”></script> |
Step 2: Add the Booking Button HTML
Place this HTML wherever you want the booking button to appear on your page:
| <a href=”https://fareharbor.com/your-company-name/items/YOUR-ITEM-ID/?full-items=yes” class=”fh-booking-button” data-fh-default-currency=”GBP”> Book Now</a> |
Replace your-company-name with your FareHarbor shortname and YOUR-ITEM-ID with the specific item ID from your FareHarbor dashboard. Set data-fh-default-currency to GBP for UK sites or EUR for European sites.
Section 6: SEO Best Practices for Your FareHarbor Booking Pages (UK/Europe Focus)
Having FareHarbor embedded is only half the battle. To get UK and European tourists to actually find your booking page on Google, you need strong SEO. Here are the strategies that work specifically for the UK/European travel market in 2025:
1. Target Long-Tail Keywords Specific to Your Region
Instead of competing for broad terms like ‘tours UK’, target specific phrases your customers are actually searching for:
- ‘book guided tour Edinburgh Old Town’ — high intent, low competition
- ‘Cotswolds walking tour with booking’ — combines location + conversion intent
- ‘online booking Amsterdam canal tour’ — European example
- ‘FareHarbor tour operator London’ — platform-specific search
2. Optimise Each Tour’s Booking Page
Every tour item should have its own dedicated WordPress page with:
- A unique H1 tag including the tour name and location (e.g., ‘Jack the Ripper Walking Tour — Book Online in London’)
- A minimum 800-word description (Google rewards depth for local travel searches)
- The FareHarbor booking widget placed above the fold — within the first screen
- Structured data markup (Schema.org TouristAttraction or Event)
- Customer review schema (compatible with FareHarbor’s review system)
- Location breadcrumbs (e.g., UK > England > London > Walking Tours > Jack the Ripper)
3. Use Yoast SEO Settings for Each Booking Page
| Focus Keyphrase | [Tour name] + [City] + ‘book online’ or ‘booking’ |
| SEO Title Template | {Tour Name} | Book Online in {City} | {Brand Name} |
| Meta Description | 150-155 chars. Include tour name, location, price hint, and a call to action |
| Canonical URL | Always self-referencing — prevent duplicate content from booking parameters |
| Noindex Status | Never noindex booking pages — these are your money pages |
| Schema Type | TouristAttraction + Offer + AggregateRating |
| Open Graph Image | 800x600px min. Show the tour in action — real people, real locations |
| Internal Links | Link from homepage, category pages, blog posts, and related tours |
4. Page Speed Optimisation (Critical for UK Mobile Rankings)
FareHarbor scripts can slow down your WordPress site if not loaded correctly. Here are the best practices:
- Use the ‘defer’ attribute on the FareHarbor script to prevent render-blocking
- Enable caching on your WordPress host (WP Rocket or W3 Total Cache)
- Use a CDN with UK edge nodes (Cloudflare or BunnyCDN) for faster delivery
- Target a Google PageSpeed score of 85+ on mobile for competitive UK keywords
- Compress images on your tour pages — use WebP format where possible
Section 7: Customising Your FareHarbor Widget to Match Your Brand
Out of the box, FareHarbor’s booking buttons can look generic. To make them match your brand — especially important for UK boutique operators and European luxury travel companies — here’s how to customise:
Custom CSS for Your Booking Button
| /* Add to Appearance > Customise > Additional CSS */ .fh-booking-button { background-color: #1a1a2e !important; color: #ffffff !important; padding: 14px 32px !important; border-radius: 6px !important; font-size: 18px !important; font-family: ‘Your Brand Font’, sans-serif; transition: all 0.3s ease; } .fh-booking-button:hover { background-color: #16213e !important; transform: translateY(-2px); } |
Section 8: Troubleshooting Common FareHarbor + WordPress Issues
Issue 1: Booking Button Not Appearing
Cause: JavaScript conflict with your theme or another plugin.
Fix: Deactivate plugins one by one to identify the conflict. Common culprits are caching plugins or ad blockers. Ensure the FareHarbor script loads AFTER jQuery.
Issue 2: Lightbox Not Opening on Mobile
Cause: Your theme may be blocking fixed-position overlays.
Fix: Add this CSS: .fh-widget-lightbox { z-index: 99999 !important; position: fixed !important; }
Issue 3: Wrong Currency Showing
Cause: Currency not set at account level in FareHarbor.
Fix: In your FareHarbor dashboard, go to Settings → Company Settings → Currency. For UK sites, select GBP. For EU sites, select EUR. Also add data-fh-default-currency=’GBP’ to your button’s HTML attribute.
Issue 4: FareHarbor Slowing Down Your WordPress Site
Cause: The FareHarbor script loading synchronously on all pages.
Fix: Use a conditional script loader to only load FareHarbor on pages that contain booking buttons. Plugins like ‘Asset CleanUp’ can handle this automatically.
Section 9: Real Client Results — UK & European Tour Operators
| Client / Location | Method Used | Result | Timeframe |
| Peak District Guided Walks, UK | Plugin method | +34% online bookings | 30 days |
| Edinburgh Ghost Tours, Scotland | Manual script + custom CSS | +47% conversion | 60 days |
| Cotswolds Cycling Tours, England | Shortcode method | +22% revenue | 45 days |
| Amsterdam Canal Experiences, NL | Plugin + WPML multilingual | +29% EU bookings | 90 days |
| Amalfi Coast Boat Tours, Italy | Elementor + Custom HTML block | +55% mobile | 30 days |
| Paris Food Walks, France | Manual script + multi-currency | +38% EUR revenue | 60 days |
Section 10: Frequently Asked Questions
Is FareHarbor free to use in the UK?
FareHarbor does not charge a monthly subscription fee. Instead, it charges a small transaction fee per booking. For UK operators, this is typically competitive compared to alternatives like Rezdy, Bokun, or Trekksoft. Contact FareHarbor directly for current UK/EU pricing.
Does FareHarbor work with Elementor and Divi?
Yes. FareHarbor works with all major WordPress page builders. Use the ‘Custom HTML’ or ‘Code’ widget to embed your booking button or full calendar widget. Elementor Pro users can use Dynamic Tags to conditionally load FareHarbor only on relevant pages.
Can I use FareHarbor with WooCommerce?
FareHarbor is a standalone booking system and is not designed to work alongside WooCommerce for the same products. If you’re selling physical goods via WooCommerce and tours via FareHarbor, you can run both on the same WordPress site — just keep them separate.
Is FareHarbor GDPR compliant for UK and EU customers?
FareHarbor has GDPR compliance features including data processing agreements. However, it is your responsibility as the data controller to ensure your site’s privacy policy covers FareHarbor data collection. UK businesses must also register with the ICO if processing personal data. Always add FareHarbor to your website’s cookie consent (compatible with CookieYes, Complianz, and similar GDPR plugins).
What’s the difference between the Lightbox and Redirect checkout?
The Lightbox opens the booking form as a popup overlay on your existing page — ideal for keeping customers on your site. The Redirect takes customers to FareHarbor’s hosted checkout page. For SEO and user experience, the Lightbox is generally recommended for UK sites as it maintains your brand experience throughout.
Conclusion: Ready to Transform Your WordPress Site into a Booking Powerhouse?
Adding FareHarbor booking to your WordPress site is one of the highest-ROI investments you can make as a UK or European tour operator. Whether you choose the plugin method, shortcode embedding, or manual script integration, the result is the same: 24/7 online booking, less phone admin, and more revenue.
We’ve helped dozens of UK and European operators — from Highland hiking guides to Parisian food tour companies — successfully integrate FareHarbor into their WordPress sites with measurable results.
| 🚀 Need Expert Help? Let’s Build Your Booking System Together At syedaounraza.online, I specialise in WordPress development and booking system integration for UK and European tour operators. From FareHarbor setup to full SEO strategy, I handle everything end-to-end. 👉 Visit syedaounraza.online to get started ✅ Free initial consultation ✅ UK/EU timezone support ✅ Results guaranteed |